In today’s fast-paced world, internet connectivity is crucial for almost all mobile applications. However, not all users have access to fast and reliable internet connections. As developers, it’s essential to ensure that our applications perform well under poor network conditions. In this post, we’ll explore how to simulate poor internet connectivity on iOS devices or simulators using built-in tools provided by Xcode.
So, let’s dive in and learn how to simulate poor internet connectivity on iOS devices and simulators.
iOS Simulator
To simulate different kind of networks as LTE, 3G, DSL, etc, we need to download the Network Link Conditioner tool. Look for your Xcode version and install it.
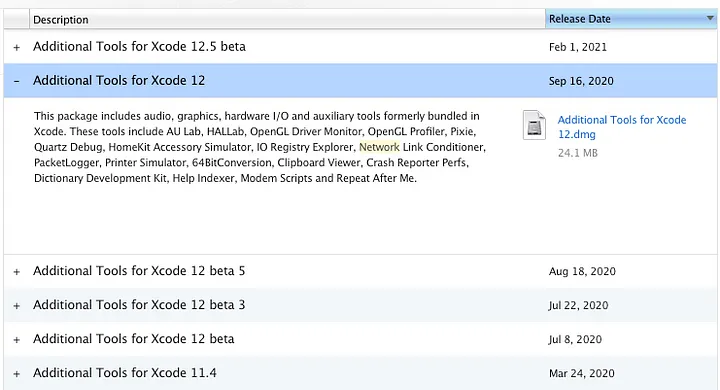
After download the .dmg file, you’ll see all available tools.
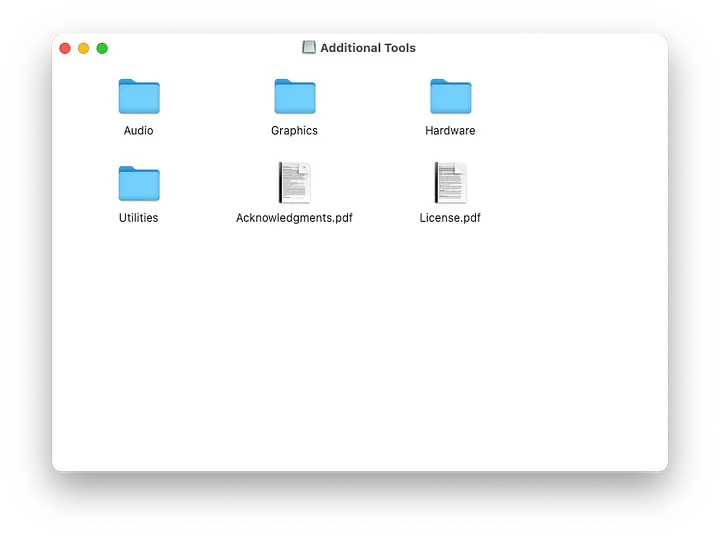
Go to Hardware and select Network Link Conditioner.prefPane After doing this, we are going to see it in our system preferences.
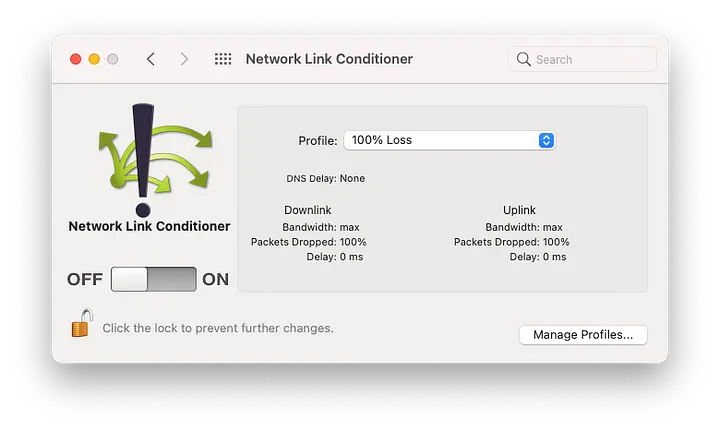
Now you can select any profile you need to simulate the scenario you want.
iPhone Device
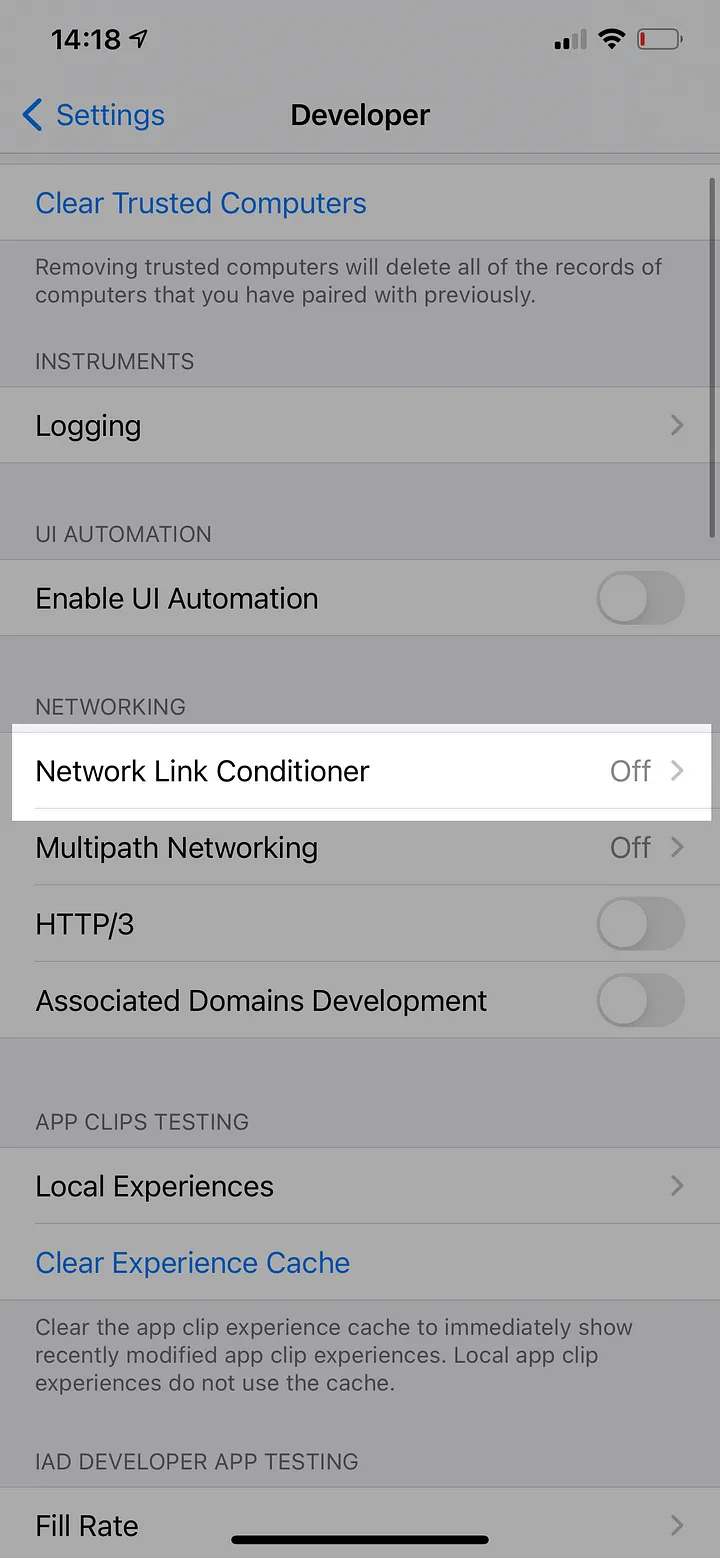
Go to your Settings and go to Developer menu.
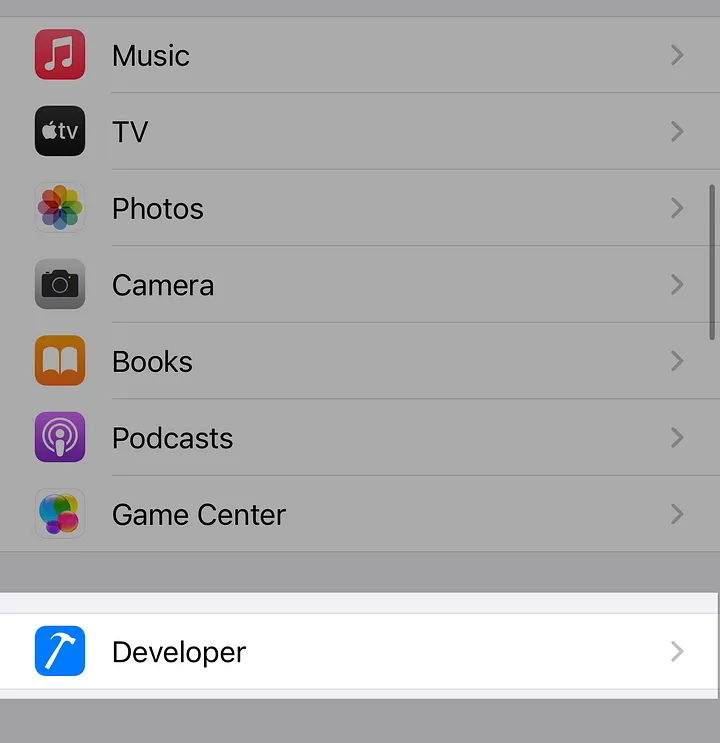
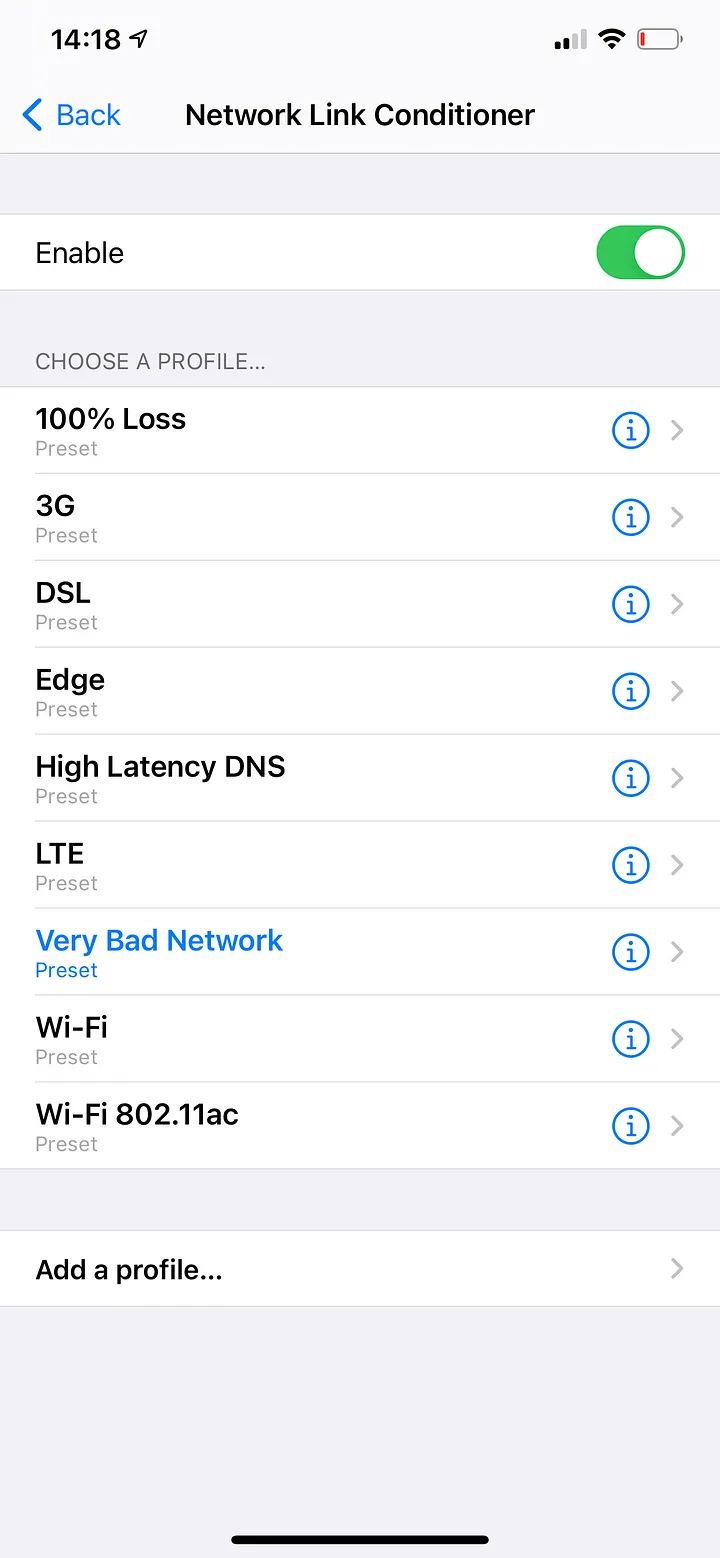
Then select Network Link Conditioner and tick Enable
Like the Network Link Conditioner in macOS, you can choose a desired profile to simulate for example a poor connection (100% Loss), or a 3G connection and so on.
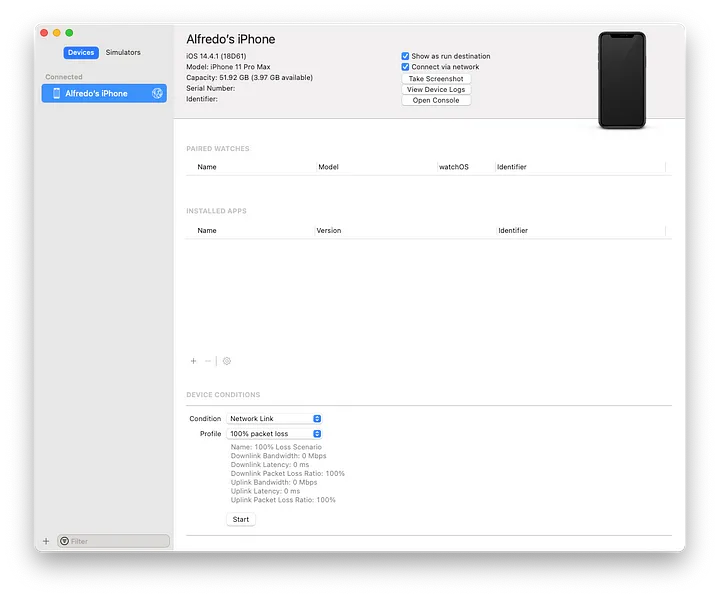
Using Xcode
We can enable this tool from Xcode. Just go to your devices and select your iPhone or iPad. You will see the Link Conditioner at the bottom to select any profile you want.
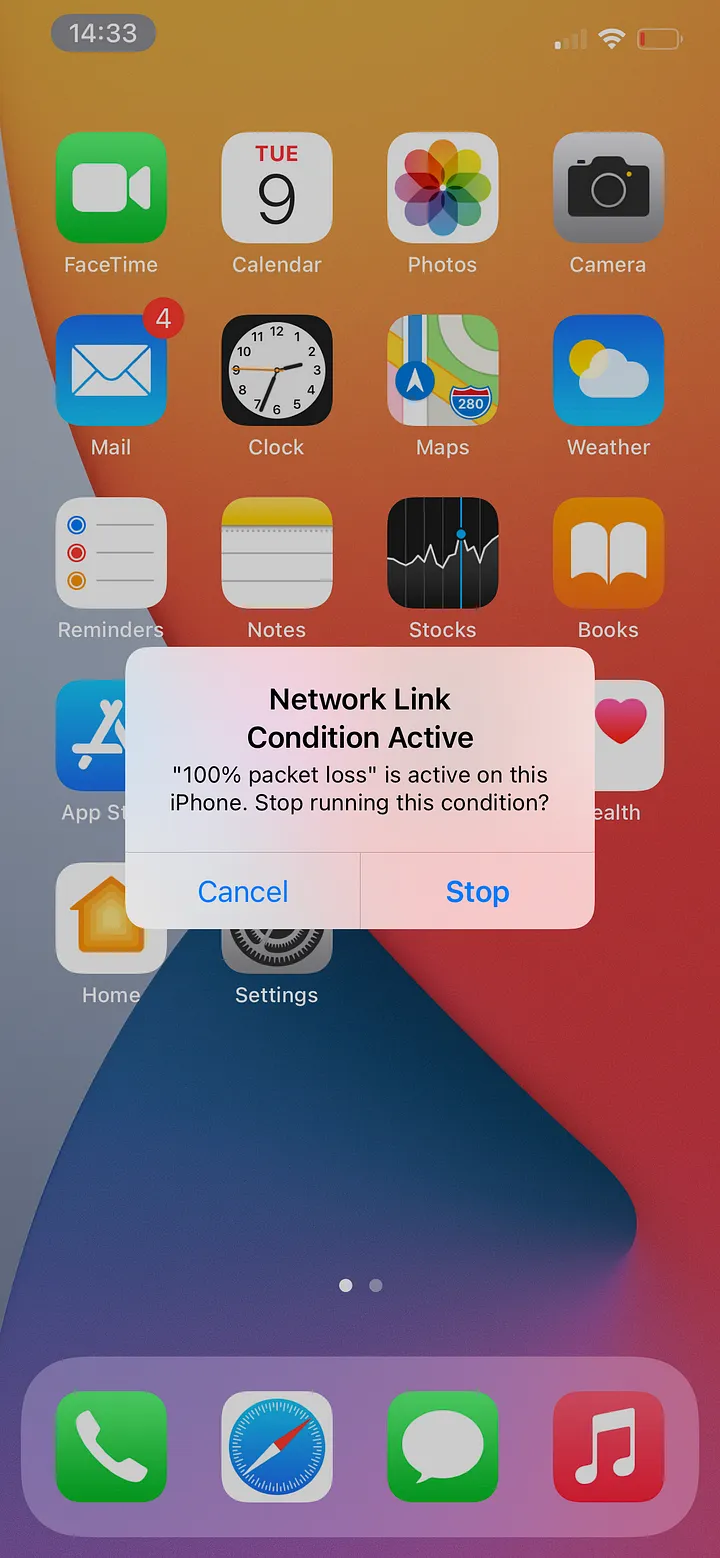
Click on start and you’ll see on your iPhone an indicator that remembers us, and we are using the tool.
If you want to stop the Network Conditioner, select the indicator and stop it.
Don’t forget to disable the Network Link Conditioner after using it for both Mac and iPhone, otherwise your connection will be affected for your daily use.